

By Louise, Home Improvement Sales Specialist at Tile Merchant
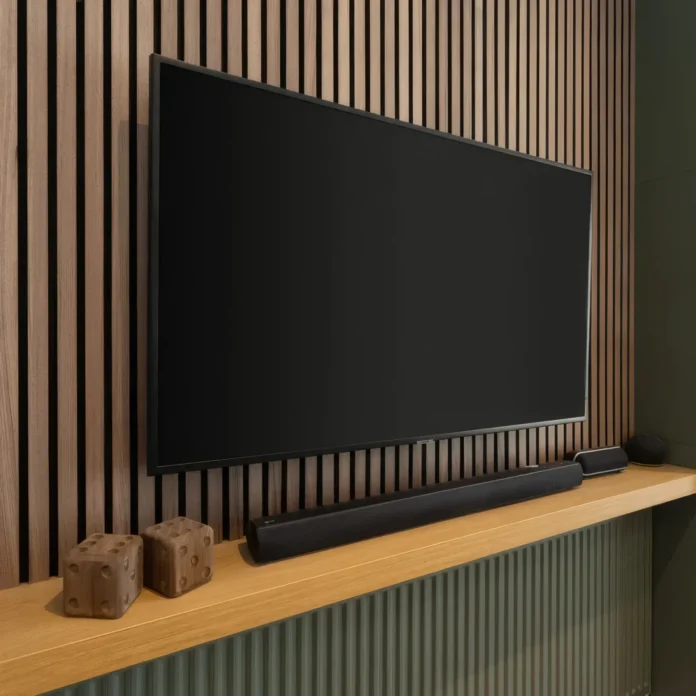
Wall panelling changes how a room looks without knocking a wall or replacing a floor. The panel edges catch the light and cast small shadows, so a flat wall gains depth that shifts as the light moves through the day.
It suits Irish houses of almost any age. The style started in Georgian townhouses, and it works just as well on the plasterboard walls of a new-build semi. This guide covers where Irish panelling comes from, the main styles, which rooms suit it, and the checks to make before you buy anything.
Where Irish wall panelling comes from
In Georgian Dublin, roughly 1714 to 1830, halls and reception rooms were commonly wainscoted. Timber panels covered the lower part of the wall, a dado rail sat on top, and plaster or paper filled the rest. Later owners painted over, boxed in or stripped out much of this joinery. You can still walk through Georgian rooms on a guided tour of 14 Henrietta Street, a townhouse museum in Dublin 1.
Modern panelling keeps the same layout: panels below a rail, flat wall above. The traditional rail height is about one third of the wall, around 800mm on a standard 2.4m ceiling.
In a Georgian, Victorian or 1930s house, line the new rail up with an existing dado, picture rail or window sill rather than inventing a new line. A newer home has nothing to match, so the one-third rule is a sound starting point.
Wall panelling styles
Georgian framed panelling was joinery, built on site. Ready-made panels fix straight to the wall instead, and they come in three main types.
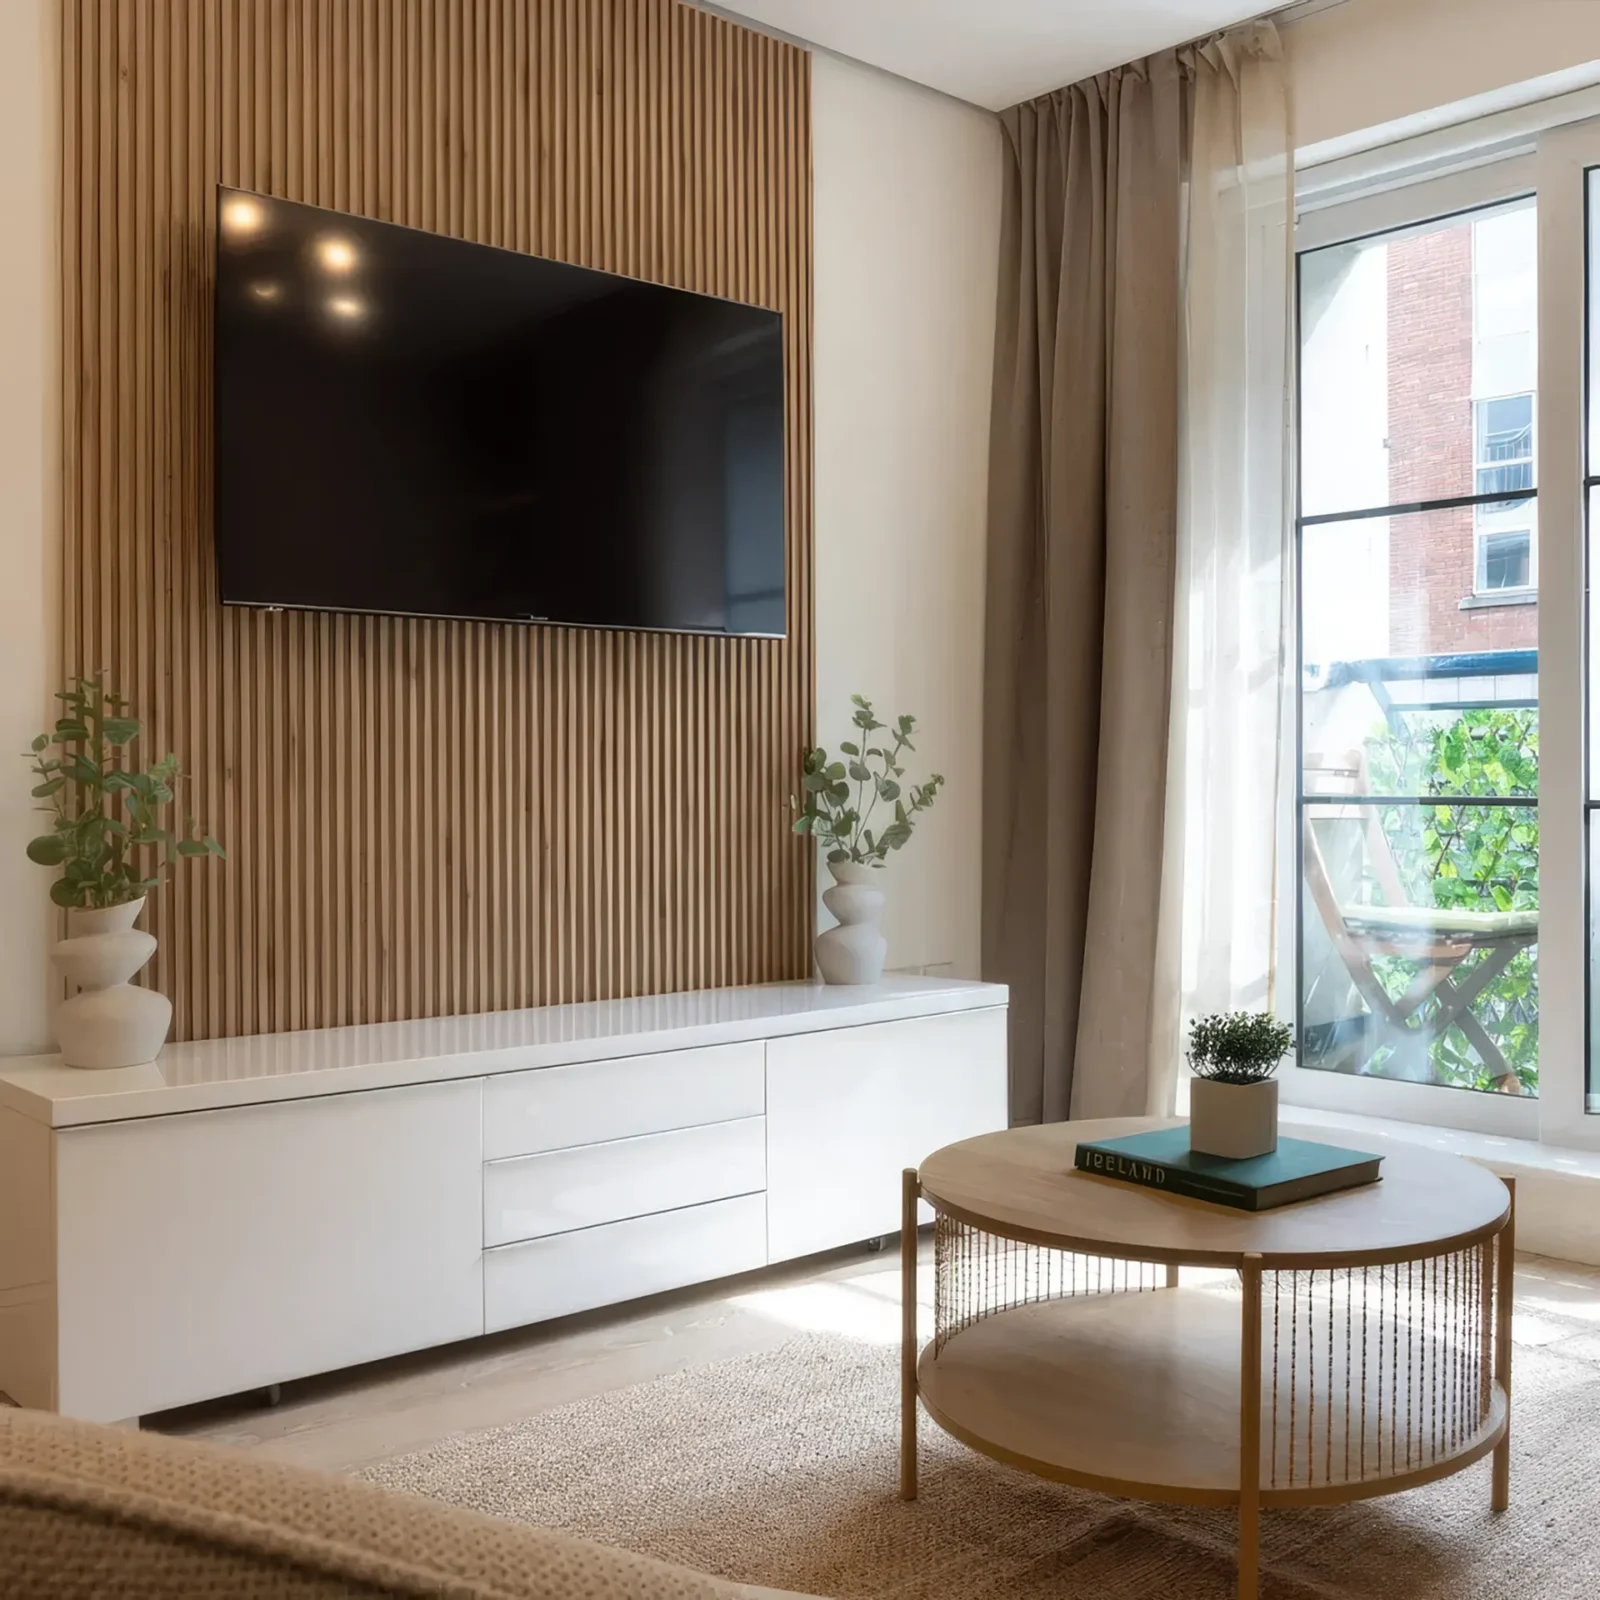
Slatted panelling uses narrow vertical slats with gaps between them. The vertical lines draw the eye up, which helps in the low-ceilinged rooms common in Irish semis and bungalows. In an oak or walnut finish, a slatted wall behind a sofa, bed or desk does the job a piece of artwork would.
Acoustic panels are slatted panels mounted on a felt backing. They absorb echo in rooms with hard floors and bare walls, which makes them useful in open-plan kitchen extensions with tiled or timber floors. They don’t soundproof between rooms or block noise from next door, so they won’t fix a noisy party wall. Check the sound absorption class on the datasheet: it runs from A (best) to E under EN ISO 11654.
Bamboo wall panelling comes in the same slatted format, in bamboo rather than an oak or walnut finish. Bamboo is a grass, not a tree, and regrows from its roots after harvest, which appeals if you want a natural material that renews quickly. Its light, even colour suits Scandinavian and Japandi-style rooms.
To compare finishes side by side, you can browse slatted, acoustic and bamboo wall panelling in the same wall panelling range.
Where to fit wall panelling
The hallway takes more wear than any other room in an Irish house: wet coats, buggies, bikes and schoolbags. Panelling the lower third protects the plaster and makes scuffs easy to touch up, while the upper wall stays free for a mirror or artwork. Halls are narrow, so check how far the panels stand off the wall (see the checks below) near door swings and the stairs.
In a living room, one panelled wall is usually enough, typically the one behind the sofa. If there’s a chimney breast, centre the layout on it and keep the gaps equal on both sides.
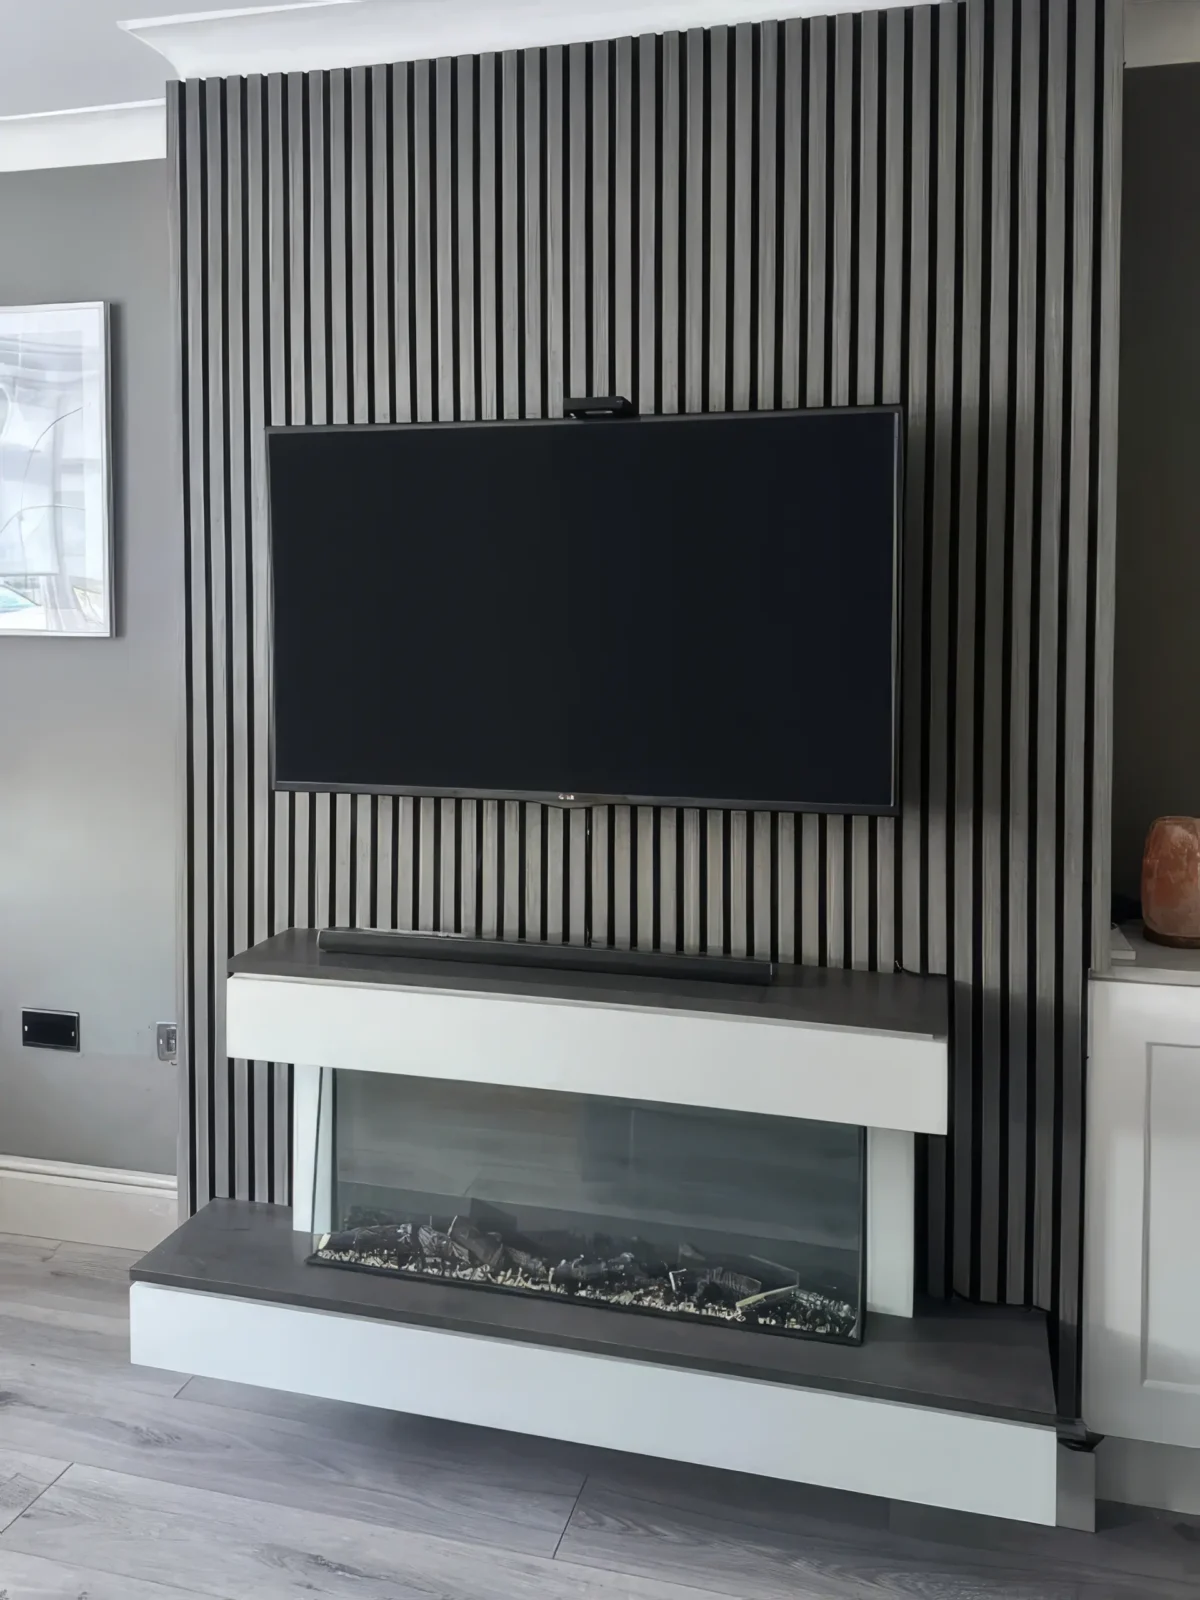
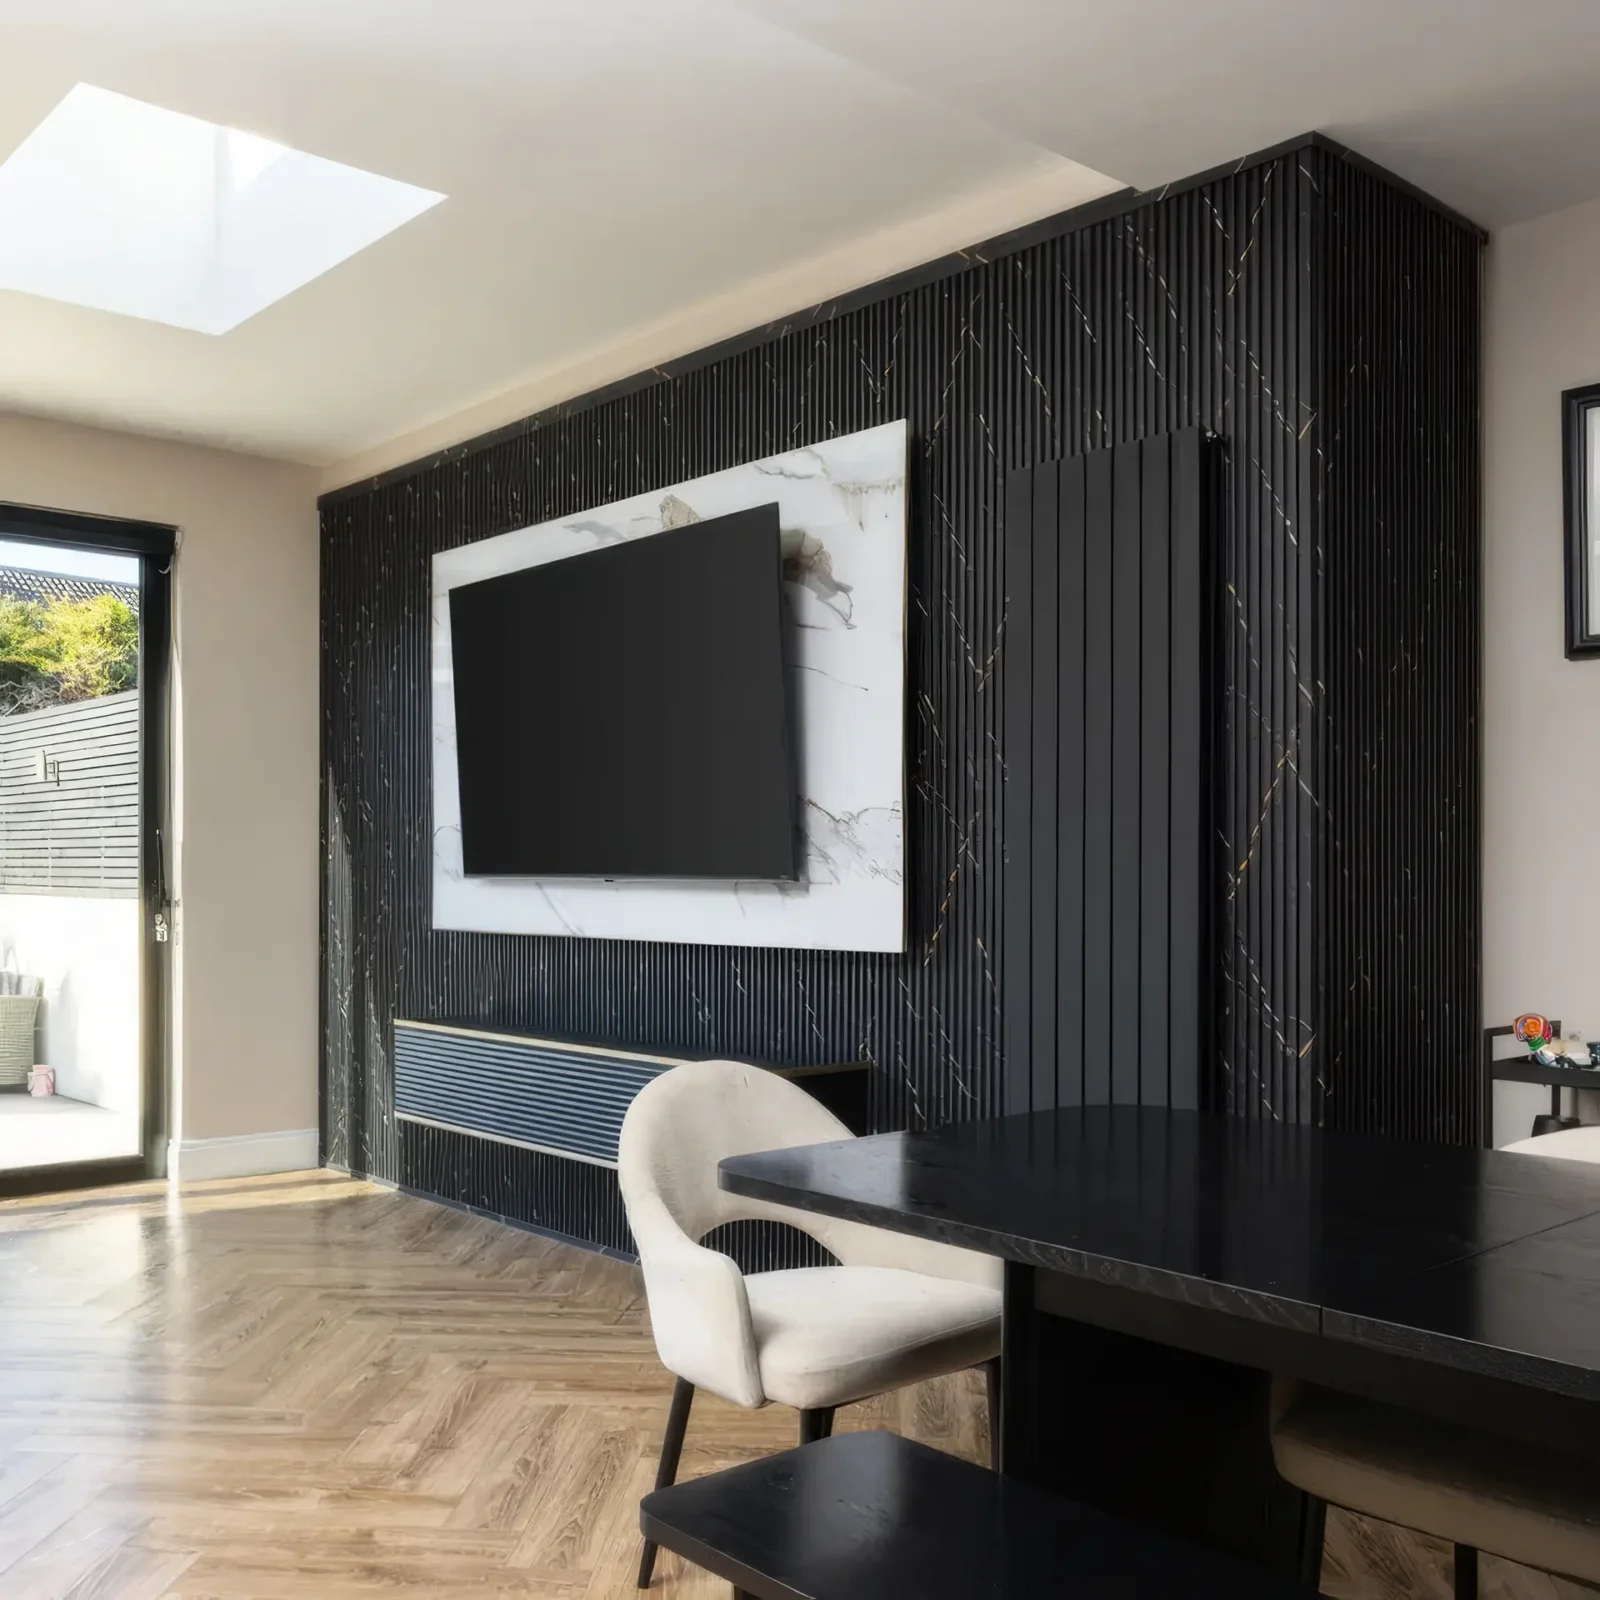
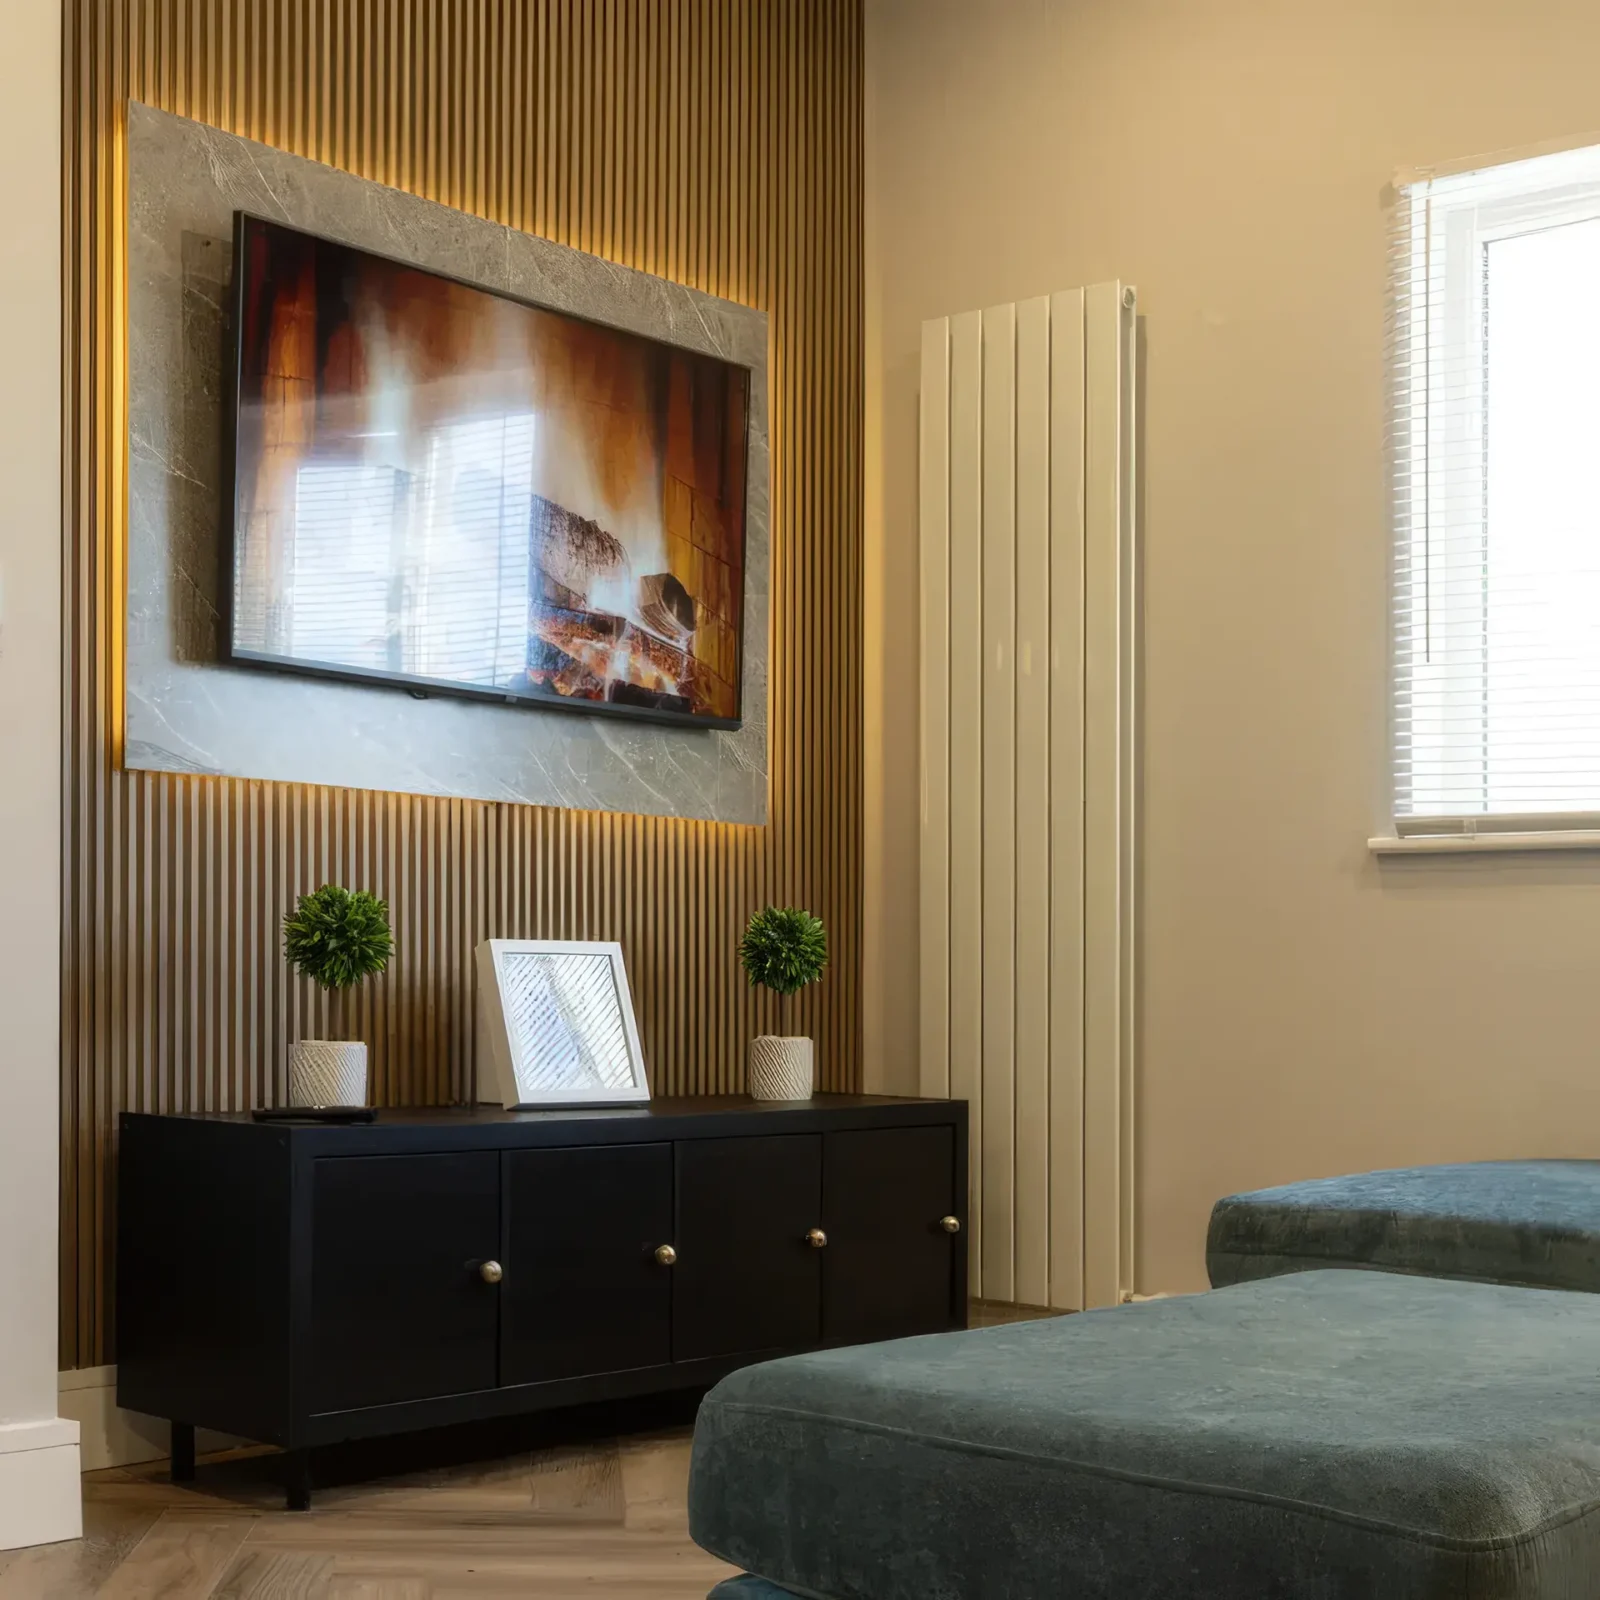
A TV wall works better panelled edge to edge than with a strip around the screen. A dark paint or timber finish lowers the contrast between the wall and a switched-off screen, so the TV stops looking like a black rectangle. Fix the TV bracket through the panels into battens or studs behind, never into the panel face alone. Plan the socket position and cable routes before anything goes up, since cables can run behind slatted panels out of sight. With a hard floor, acoustic slats here also cut echo from the speakers.
Behind a bed, run the panelling about 300mm past each side so it reads as a headboard. Light oak or bamboo slats keep a bedroom calm; walnut gives a darker, stronger frame.
For anyone working from home, the wall behind the desk is the one colleagues see on every video call. A warm wood finish there sits well with open shelving and needs nothing hung on it.
Before you fit wall panelling: six checks
- Draw the wall to scale. Mark doors, sockets, switches and radiators so you can see where every panel ends before you cut. Sockets and switches must sit flush with the new surface, which means extension spacers or deeper back boxes. Any wiring changes need a Safe Electric registered electrician.
- Work out the spacing. Divide the wall width by slat plus gap, then adjust the gap so you don’t end with a thin sliver at one corner. A 2,400mm wall with 45mm slats takes 40 slats at a gap of about 15mm.
- Measure the finished depth. Slatted, acoustic and bamboo panels are often around 20mm thick on their own, and fitting them on battens can take the total past 40mm. Check the product’s depth against architraves, skirting and door swings.
- Check the wall for damp. Use a moisture meter before covering anything. Older solid-wall houses can trap damp or condensation behind panels, so fix the cause first. Shim uneven areas and follow the fitting instructions for your panel material.
- Check the fire rating for halls and landings. These are escape routes, and building guidance sets a higher fire performance for wall linings there than for small rooms. Look for the reaction-to-fire class (Euroclass) on the datasheet. In apartment common areas the rules are stricter again, and the management company will have a say.
- Test a sample. Leave a sample panel on the wall for a day. A design that looks subtle in a photo reads much bolder across a whole wall, and a day of looking costs nothing compared with stripping a finished wall.
About the author
Tile Merchant is an Irish-owned family business specialising in tiles, flooring, wall panelling and outdoor products. Customers can shop online or visit stores to explore products, get advice and order with confidence.